


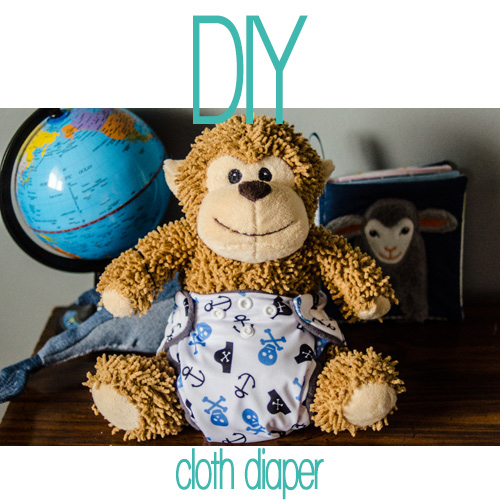
Yesterday in the burp cloth tutorial, you may have noticed someone cute in the background wearing a prototype sewn earlier this week. Who was this dashing gentleman? No, not our child. He hasn’t arrived just yet.
He’s our tester monkey! This time he was testing…
If you’re someone who tries to be as green as they can, and you haven’t read about how much waste one child produces in terms of wipes and diapers, here are a few interesting stats.
Of course, there are environmental impacts to using cloth as well. Higher water consumption and the natural resources harvested to produce cotton and other materials are among those arguments.
Let’s be clear: I have no preference for cloth or disposable (yet). As someone who hasn’t had her first child, I have no experience. I love the idea of not loading our landfills with plastic that does not biodegrade for hundreds of years, but I also like conservation of water (as well as convenience and the general idea of not handling poo).
I do like sewing, however, and trying new things (and saving $30 per cloth diaper). So I found this awesome tutorial [cached] and made my first cloth diaper(!).
After some too much research, I used:
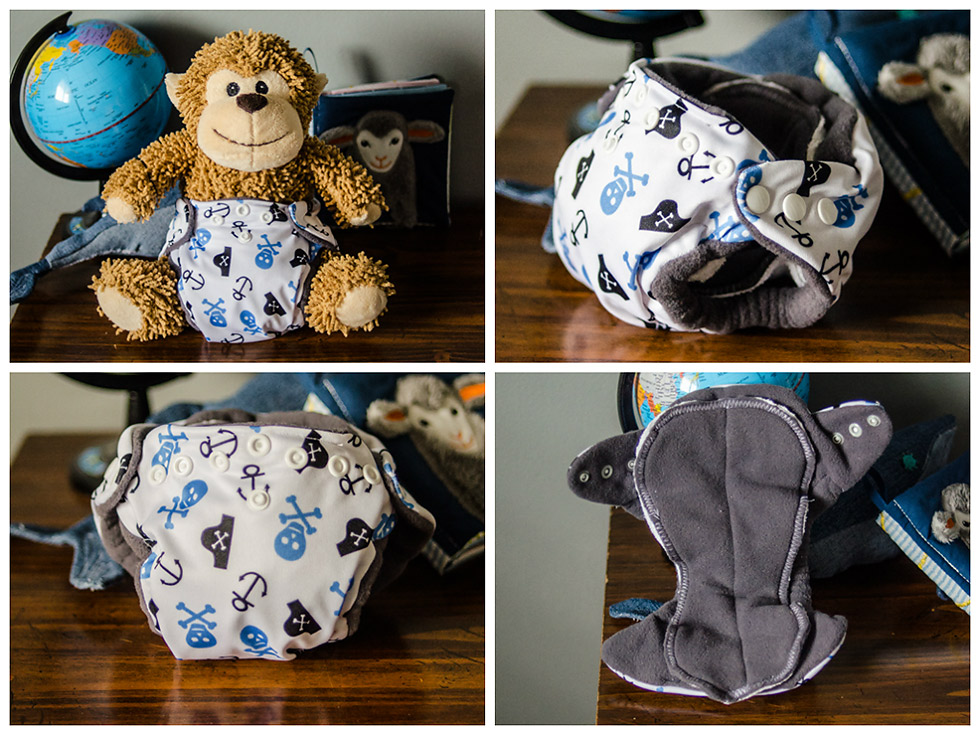
- Printed PUL (waterproof) outer
- Microfleece stay-dry layer for next to baby’s skin
- Upcycled cotton tank top in between PUL and microfleece for added absorbency
- Snap-in liner — microfleece top layer and 6-8 layers of cotton (two petals of 3-4 layers to make it faster to clean and dry)
- 3/8″ Polyester elastic (you can also use 1/4″)
- 100% Polyester thread (cotton thread is a no-no for cloth diapering)
- Ballpoint size 11 needle [2045 Singer]
- KAM size 20 snaps and pliers, which are awesome!
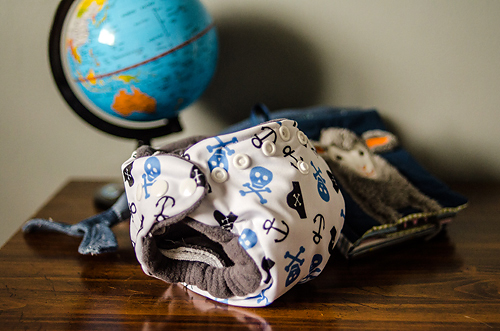
Here was the end result!
Monkey-approved! Click to enlarge.
I decided not to topstitch all the way around as the tutorial suggests. I didn’t really see a point, so I just top-stitched to create casings around the elastics.
I think I could’ve sewn the PUL higher around the legs, but that’s a rookie error to correct with the next diaper. I’ve also looked into adding waterproof double gussets. You can add these over the leg elastic part with PUL and elastic to create an extra waterproof barrier — it’s easier to add before you’re finished and realize you made the same error. This wasn’t in the tutorial, but discovered somewhere in my research.
Additionally, here’s the cloth diaper-making SUPER resource I found — SO helpful!
Will we end up cloth diapering? Maybe, maybe not. I can see plenty of reasons to give it a try. Now that I’ve made one, my confidence is up and I’ll definitely make some more.
If you’re having a little one and love to sew, why not try it too? If you do, I’d love to see what you come up with.
Learn more about the benefits of cloth diapers at Mom Loves Best

What are your thoughts on cloth diapering? Do you prefer disposables? Let me know in the comments!


Pingback: Important tips to learn before you make DIY cloth diapers | commatose.ca